Replacing
alternator (fan/auxilliary) belt.
Time to
complete - took me 30 mins for my first time.
Probably
can be done less now I know how.
If possible probably best to spray some release oil on the bolts the
day before if possible, although despite my car being 7 yrs old and
rusty underneath, all bolts came off reasonably easily.
Tools required:
- Usual tools to remove
wheels
- Axle stands MUST be used
to support car
- Spanners/sockets for
15mm (alternatorhex bolts) and 8mm (tensioner bolt)
- T25 Torx screw
- Seems possible to do it
without removing engine access panel, but it becmae much easier when I
did.
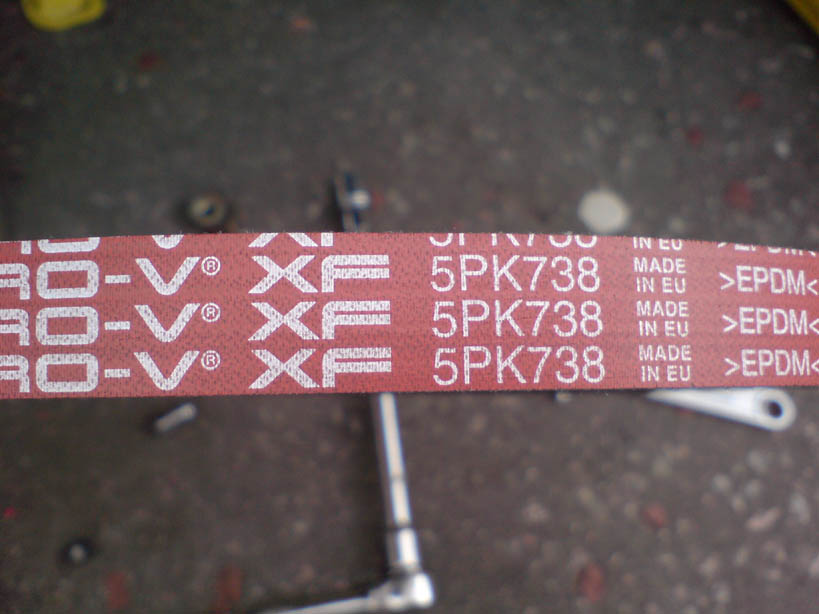
- New belt : Part Number
(MGR) PQS100840 (or equivalent
form Halfords, other motor shops)
Preparation: Remove
rear offside wheel as usual and jack up and SUPPORT car
Click
on thumbnail for larger picture
 |
 |
 |
|
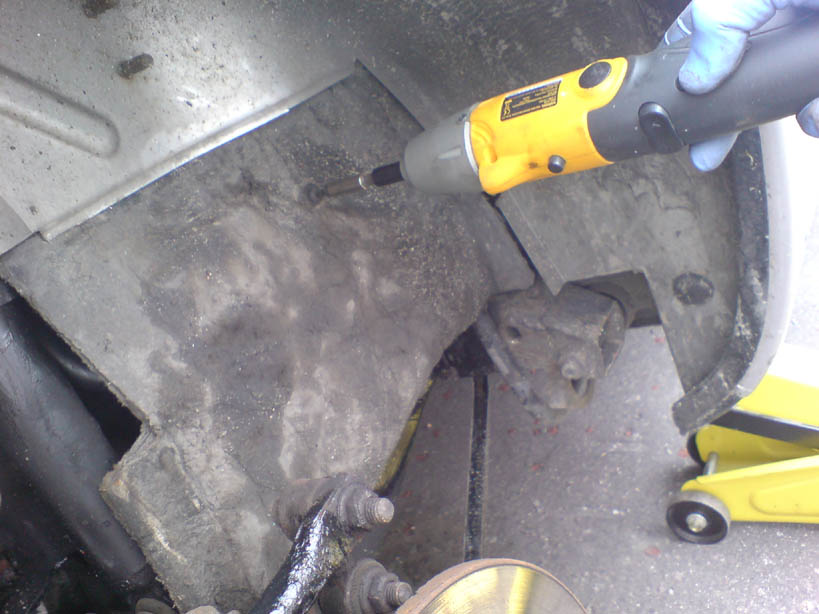
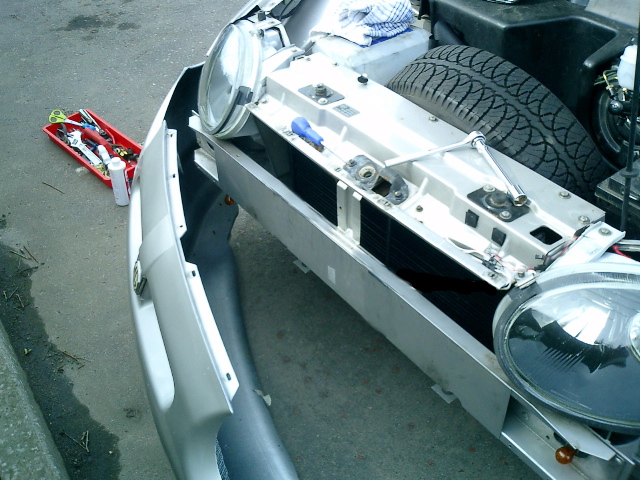
Remove
spray guard thing in wheel arch. In the F there is a
central screw (T25 Torx) (which
I broke!!)
|
There are two other plastic screws at the
bottom of each edge.
One of them has a slip in loop (pic). The other
side is one of the plastic things made of butter. It is
likely to get damaged |
You can now see the crankshaft pulley and
fan belt |
|
|
|
 |
 |
 |
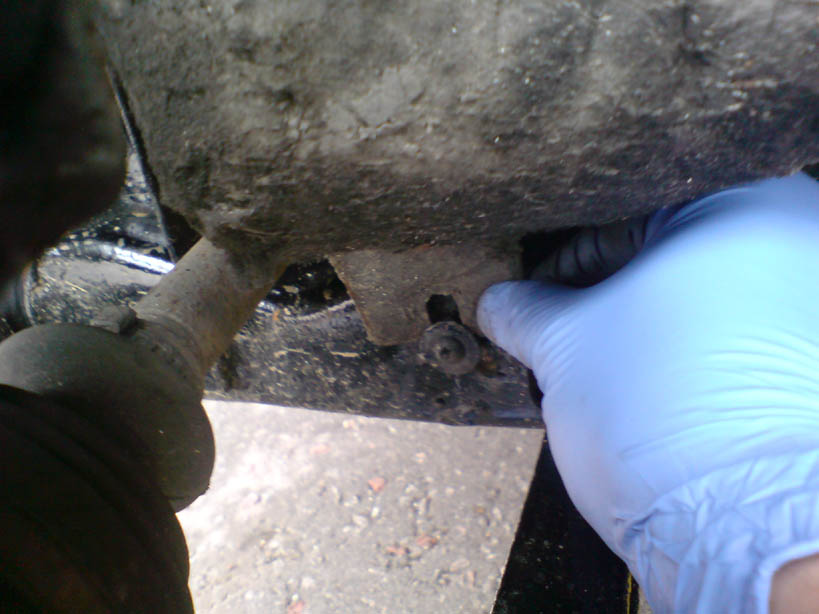
| Undo the bolt to the left of the alternator.
You dont have to
remove it, just make sure it is loose (13mm I think). I dont
think this is necessary but I did it anyway |
Next undo the other one on the other side.
I had a new one fitteed and its now17mm. Not sure
what it was before.
Probably dont have to remove this either, but I did .This
will allow the alternator to swing on its top pivot. |
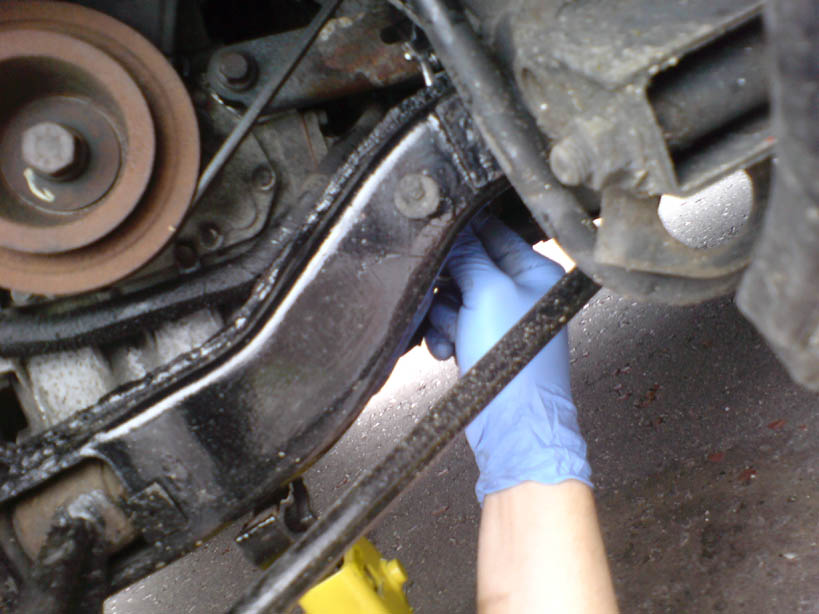
The bolt in number 5 is actually quite
difficult to get access to.
I managed using an adjustable spanner coming from below as in
the pic. |
|
|
|
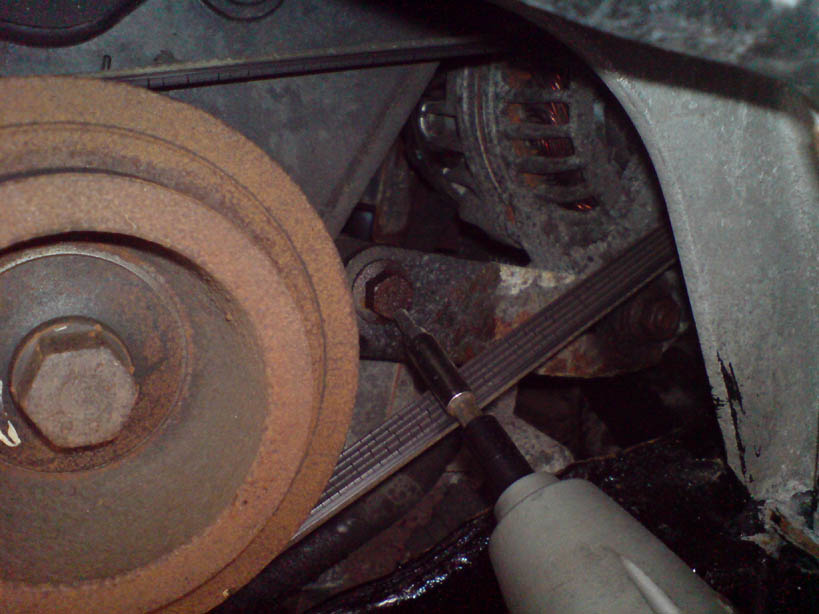
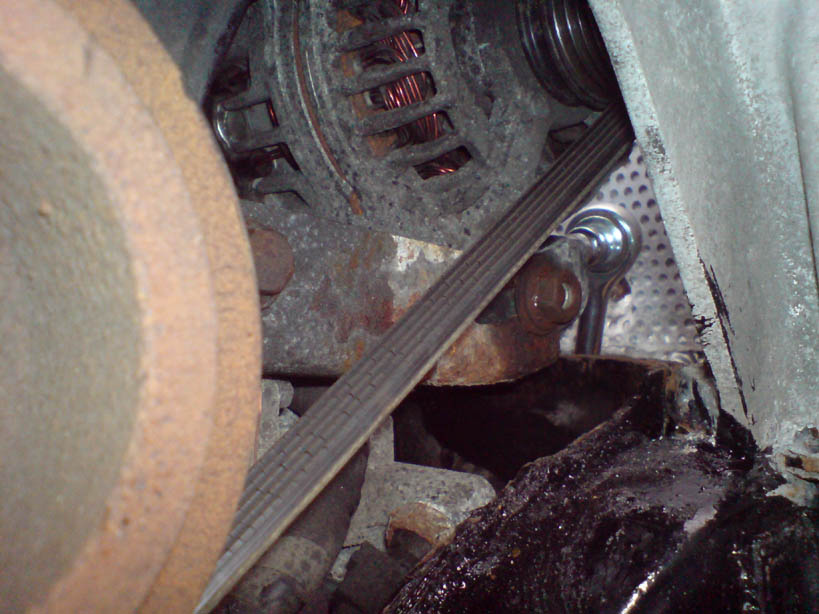
| Next
bolt is the tensioner bolt at the front side of the alternator
(outwith view). This is not easy to get to or even see and
you have to "feel for it". You can get a socket wrench up
from the bottom of the car. It is an 8mm bolt
(maybe 7mm??). However I
found it much easier to undo this bolt from ABOVE
when the engine access cover was removed. (see next pic) |
Also
looking at this picture, you can see an oily patch on the alternator
just where it meets the timing belt cover. This is the
location of the 4th
bolt, the adjusting screw. I dont know if I could have
loosened this WITHOUT going
in from the top. Loosen this also (sorry photo never appeared
on camera??) . The alternator
should now be free to swing towards the rear of the car (with a push). |
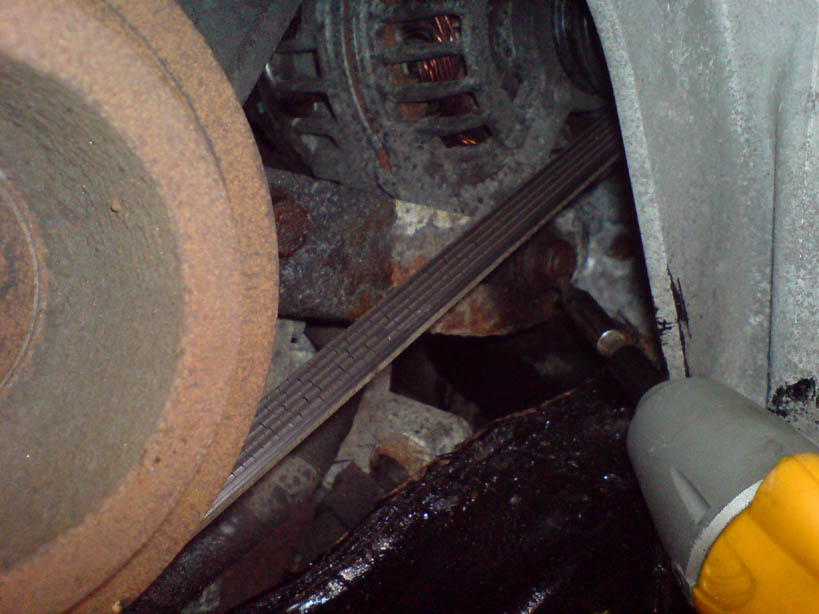
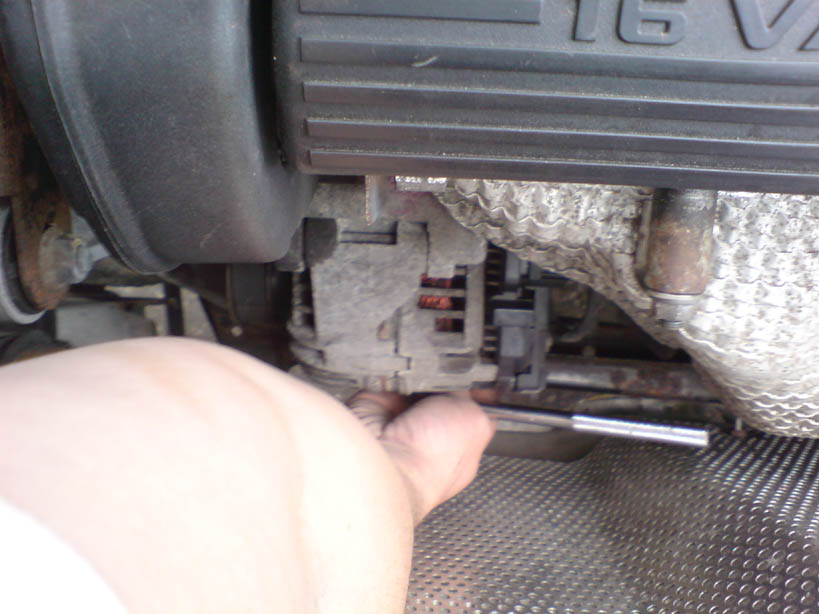
The old
belt can now be
slipped of and the new one slipped over the two pulleys. These part
numbers from the old and new belts
may help someone? THe belt should be tensioned to 10kg
according to
workshop manual. To novices, make sure it can turn 1/4 turn ,
no more
or no less. It shoudl be tight but not too tight.
If its loose you
will probably soon know form squealing noises |
 |
|
|
I would
give this a difficulty
rating of 2/10 well within the limit of an amateur like me. Not a 1
purely for lack of access, but it still didnt take me long and there
was nothing technically difficult. This is the part number
(Unipart) of the old one
|
|
|
*
All
mechanical suggestions and tips are purely for information only.
I accept no responsibility for any damage to vehicles or
persons as a result of any of my information. Consult a
MG-Rover manual before attempting any repairs. Some repairs
should be carried out by professionals only.