
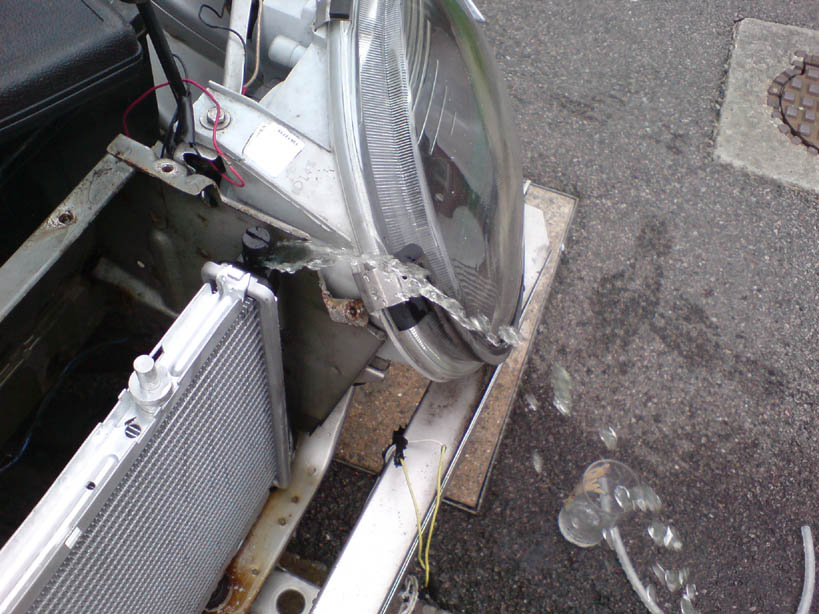
This is not the best how to as my camera packed in half way through, hopefully text will sufffice
The coolant system in the MGF is crucial. Do not undertake this unless you have some confidence. I would advise you look at other how to's also, in case I have missed anything. I take no responsibility if anything goes wrong.
Time to complete - took me 4 hours for my first time. Probably can be done in an hour, especially without removing radiator etc.
Some extra steps are included here, as I replaced radiator, and removed expansion tank to clean.. These can be avoided if only doing a coolant change
(please also refer to links on this page before beginning )
Tools required:
- Usual tools to remove bumper.
- 10/8mm sockets or spanners for shroud bolts and bleed valves.
- Screw drivers.
- Hose clip pliers, or wide pliers will do.
- Container for coolant (wash basin?)
- Supply of water and coolant (about 12-3 litres to allow for spillage during
- bleeding)
- If you want, you can replace coolant hose clips with worm drive clips (30-40mm)
Click on thumbnail for larger picture
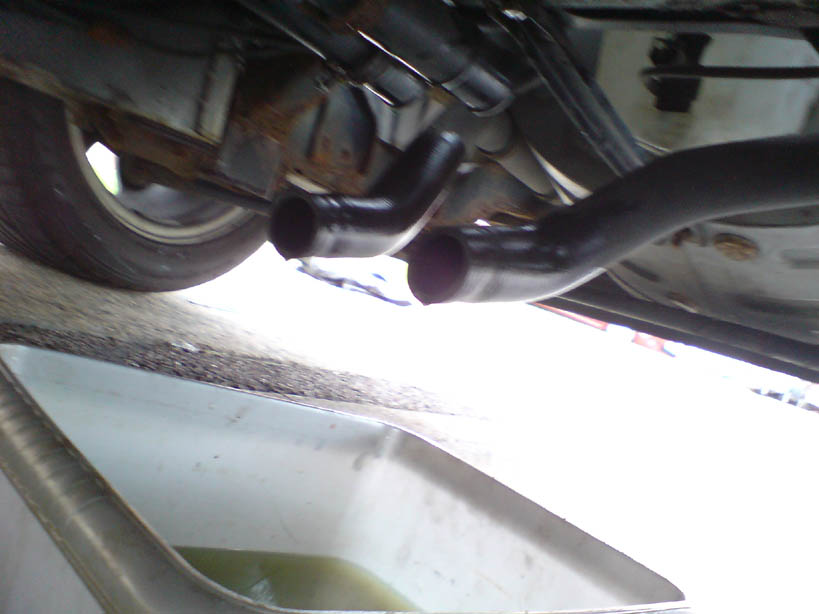
9) Empty your container and replace. Fill expansion tank with water. This will flow out of the unconnected pipes under the car, to get rid of coolant. Replace underfloor hoses onto pipes but DO NOT secure with clips yet. Add more water to the tank and allow to fill up system. When the water takes longer to empty out of the tank, undo bleed screw on radiator and under bonnet bleed screw. There will STILL be coolant in the system so try to avoid spillage onto body or surrounding environment. For the underbonnet heater bleed screw, I attached a length of tubing to the bleed valve and directed this to another container (best to use a clear glass/container so you can check for bubbles later).
10) Once clear water comes out of radiator (takes a while) bleed valve (which on the MS SS radiator, has a directional exit hole so you can direct where the coolant/water goes), close this and similar with the under bonnet valve.
11) Now do the bleed valve in the engine bay. I forgot about this the first time and thought my system was flushed. When I opened this the yelow coolant came out!! It is more difficult to contain the coolant escaping here. I filled engine bay with blue absorbant tissue and placed a container underneath engine bay. Use your gloved hand or an object to defect flow away form engine bay internals if possible. Again wait until this becomes clear with just water.
12). Now all system is just water, go back to each bleed point (radiatior and underbonnet first) and bleed until you are sure no air is coming out (keep topping up tank with water at all times). Now do same for engine bay bleed valve also. Now the system is filled an apparently free from air, run engine for 5-10 seconds to circulate water.
13) Now remove underfloor hoses again and allow system to drain again. Repeat steps 9-12..
14) At this point, the system is full of water and supposedly free of air pockets, through proper bleeding. Now reconnect and secure hose clips undercar.
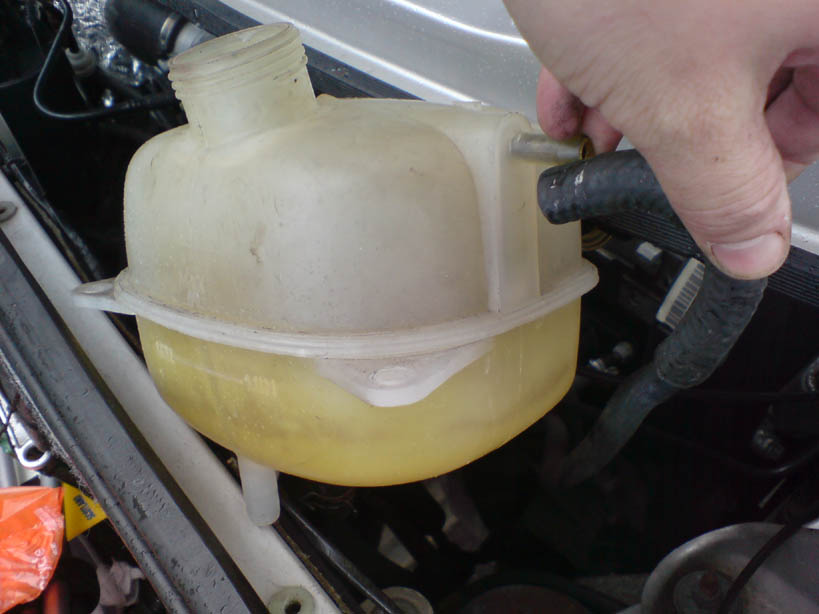
15) Bleed enough water out of one of the bleed valves so that only a small ammount is left in expansion tank. Now fill expanion tank with new coolant (50% mix). Should be either pink/orange (OAT) or blue/green (Ethylene Glycol) depending on year of car. I think it is advisable to switch to OAT is possible. Now open radiator bleed valve and leave water to come out (see pic) until you see the colour of the coolant (this took almost 10 litres of topping up before this happened). Again MAKE SUREexpansion tank does not empty during process. This may not be the ideal method and as such, I recommend testing the coolant with a hydrometer to make sure its at 50% 16) Now open underbonnet valve and again bleed until the correct colour comes out , again do this into another container with some tubing to make sure no air bubbles are coming out. KEEP CHECKING levels in expansion tank.
17) Now go to engine bay bleed valve , and again bleed until the correct colour appears, make sure there are no bubbles. Easy to keep an eye on expansion tank in this case.
18) Now you should have your system filled with coolant, and no air in it. Fillt ank 3/4 full of coolant. At this point I started the egine for 30 seconds or so and then rechecked all bleed valves again. Now jack up front of car higher than rear. Run engine for 30 seconds. Return height of front and then jack up rear, again run for 30 seconds. Now re-check all bleed valves once more.
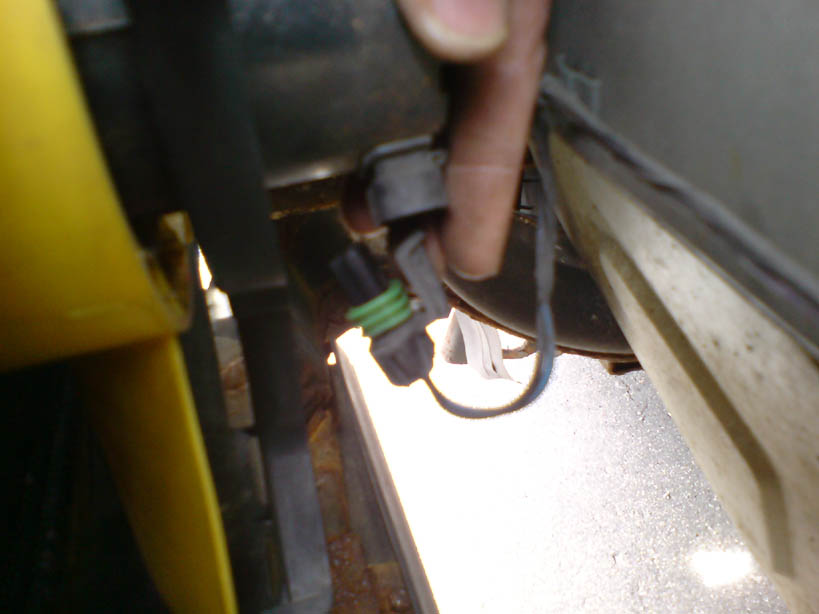
19) Now switch on engine and let it run. You should eventually feel warm air start to come out of the air vents (put on full blast). If you do not feel any warm air, you may have an airlock and should recheck all bleed valves for air. Now also watch the water and oil temp dials. The water should start to go up first (took mine ages, so if its is not going up, start revving the engine for long revs to heat up the engine). Also check expansion tanks in case there are any leaks anywhere. Also when you rev the throttle, you should see coolant being squirted into the coolant tank from the top hose. Keep running engine and eventually the radiator fan should come on (this took over 20 minutes for mine). If the fan isn't coming on for ages, check it has been reconnected at the front (I forgot ), and then if still unsure, remove multiplug from brown coolant sensor (or black in the TF) to rear of engine bay, beside cylinder head. The radiator fan should immediately come on.
20). Also make sure all exit and entrance pipes to/from expansion tank, and radiator are all warm/hot. Once up to temperature. Leave to cool. (replace bumper if you removed it and tidy up tools etc). Leave off engine bay cover to help cooling and go for a beer or something.
21) Once time has passed, check coolant levels and top up if necessary. If you are paranoid, check bleed valves again (MAKE SURE coolant has cooled enough or you may be scalded).
Job done!!
*All mechanical suggestions and tips are purely for information only. I accept no responsibility for any damage to vehicles or persons as a result of any of my information. Consult a MG-Rover manual before attempting any repairs. Some repairs should be carried out by professionals only.